how to record gameplay without a HD capture card from xbox ps3 nintendo PVR


")
hd pvr to record and capture gameplay footage
Have you ever tried to capture gameplay footage? I have – the first thing that came to mind was to grab my video camera and start recording the TV screen. The captured gameplay from the camera came out horrible with weird reflections, indistinguishable sound, blurry and unfocused game footage which I couldn’t upload to Youtube. If you have been here with me once before or if you are there now then you must be a passionate video game player (gamer), like me. Fellow gamer you are not alone there are many other passionate gamers out there who would love to record gameplay screenshots, clips, or theater mode screenshots. Most of us just give up because we don’t know how to record our video gameplay. I’m here to tell you that there is an easy way to record video gameplay for hundreds to witness laborious video gameplay achievements that you have accomplished!
I think I have found a way to record decent clear HD like gameplay footage in real time with the Newelectronx Tristar MX HD PVR. If you have been following my articles then you know I promised you this article a long time ago. Well for those of you whom have been craving it, it’s finally been written. The term PVR stands for Personal Video Recorder. The HD might mean Hard Drive or High Definition – so Tristar Hard Drive Personal Video Recorder or Tristar High Definition Personal Video Recorder. It doesn’t really matter much what the HD exactly means as long as you know it’s a PVR.
As you can tell from other articles about this new toy I acquired is that it keeps teaching me more and more each day I use it. It is just a small wonder that I landed by word of mouth. It’s a cool little box made for any digital media enthusiast or gamer. I especially like it because it is simple to use and does not require a computer to capture gameplay or to record TV. It is just as easy as using a VCR recorder/player, but instead of recording onto VHS tapes or VCR tapes; it records directly to an internal hard drive like your cable or satellite DVR. The only difference from your cable or satellite receiver is that it can connect to your video game console (Nintendo WII, PlayStation PS3, or Xbox 360) and record gameplay footage. It can even copy the gameplay to a flash drive. I think I will get more into that later. Probably not in this article, but in another article. I know I am putting my foot in my mouth for those who are using my articles, but I guess I will find some time to write about the flash drive feature of the HD PVR. If you read my old articles you know I have used this same machine to digitize older media from video cameras, DVR, and especially VHS tapes, VCR tapes, and mini discs. I know, this article is supposed to be about gameplay capturing features and such, so let me stay on topic.
In order to capture gameplay or retro gameplay to see it in real time on a HDTV you will need to use the HD PVR component cables and the HD PVR component output RCA jacks. Also if you use the component cables to connect your HDTV to the HD PVR then you will also need to connect audio from the HD PVR to the HDTV. You can find all these connections on your TV and on the back of the HD PVR.
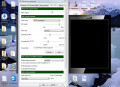
There is also a composite output or s-video output if you want to connect your TV that way. Some of the key features about the HD PVR include a USB 2.0 port (actually 2 – one to connect to your computer and the other to connect to flash memory or external hard drive), flash drive memory reader writer, SD card reader/writer, Internet Connecting port, Component ports, Composite ports, S-Video Port, and Remote. I think I covered everything. If I forgot something I will mention it throughout the article. The USB port, internet ports, and flash memory ports are the main features, which is the key to getting gameplay video captured to the HD PVR. You can then watch it directly from the HD PVR or put it on your computer/MAC. On the front of the HD PVR is a cool blue display, card reader/writer for memory like SD cards. On the top is control buttons like Play, Stop, Record, Pause, Fast Forward, Rewind, Directional buttons (UP, Down, Right, Left), and Home button. The S-video, Component, and Composite video in and out ports are on the rear. If you can use a VCR then you can use this HD PVR because everything is clearly label, easy to hook up, and get started using right out the box. And the cool thing is that you don’t need to purchase anything else. Everything you need is shipped in the HD PVR box: component cables, composite cables, remote control, hard drive, and USB cable. Another great thing about the Newelectronx HD PVR capture device is that it is a self-contained unit and does not require to be connected or installed on a computer. Also you don’t need any special software to use it on your computer. In fact it works without a computer system.
Plug in the power cable from the HD PVR to your power strip. Power-on the HD PVR, and you will get a green screen with a simple menu to make selections on your TV. Press video input on the HD PVR remote control or on the HD PVR console and you will see the gameplay output right on your TV screen from the HD PVR. To capture gameplay footage from a PlayStation 3, Nintendo WII, or Xbox 360 press the record button – on the HD PVR or HD PVR remote control. If you want HD like output then change the video output setting on your game system and on the HD PVR. Your video game system settings should be set to 1080i or lower and the HD PVR settings should be set to 720p or 1080i. Since this will be recording in real time, you might get some lag. This happens with all HD PVRs. You can try turning off the timeshift feature. It helped out a little bit for me. If you compare the real HDTV output to the HD PVR, you will see the lag and you will notice it with the video game system controller, so you might consider using a splitter. It may or may not make a big difference to you, but it will not make a difference in the awesome video recording. To me, it really does not matter – what does matter is how good you play – the HD PVR will not give you super powers or better game skills. Start playing your game on your HDTV and press record.
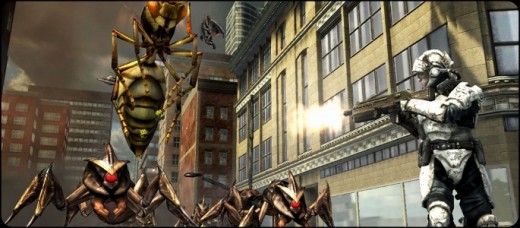
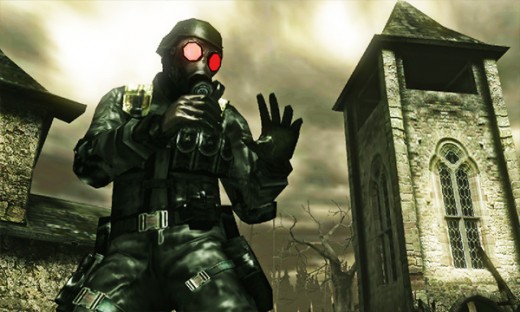
HD PVR gameplay video capture examples from an Xbox 360, MAC, and PlayStation 3 are in this article please see them. I also have some netflicks and PSPgo gameplay clips. Check out a few samples of screen captures
This ends my over view or rather review of the Newelectronx HD PVR. If you want to capture hard drive or high definition gameplay footage then let me give you the quick rundown on how simple it is before I close this article out.
I am assuming you have invested in the HD PVR and have it connected to your HDTV. Ok, I changed my mind. I will explain how to connect it. Now let’s get started.
1. Connect the hd pvr to your HDTV. Connect the component cables (red, blue, green) to your HDTV component input. Place the other end of the component cables to the output on the HD PVR. These cables are in the HD PVR box.
2. Using the cables included in the box, connect the hd pvr to your Playstation PS3, Nintendo WII, Nintendo Gamecube, Nintendo N64, Xbox 360, or whatever. This is done with the composite cables (red, white, yellow). Connect one end to your video game system output or get the video game system output cables and connect it to input of the HD PVR. Place the cables on the yellow, red, and white RCA jack inputs. This is the AV IN area on the HD PVR.
3. Power on the video game console and then power on the Hd pvr
4. Start playing your game and press record on the hd pvr. When the game is over press stop on the hd pvr. You now have a copy of it on the hd pvr.
Thanks for reading another one of my articles. If you need any help or have comments then just drop me a line. I will be happy to chat with you.